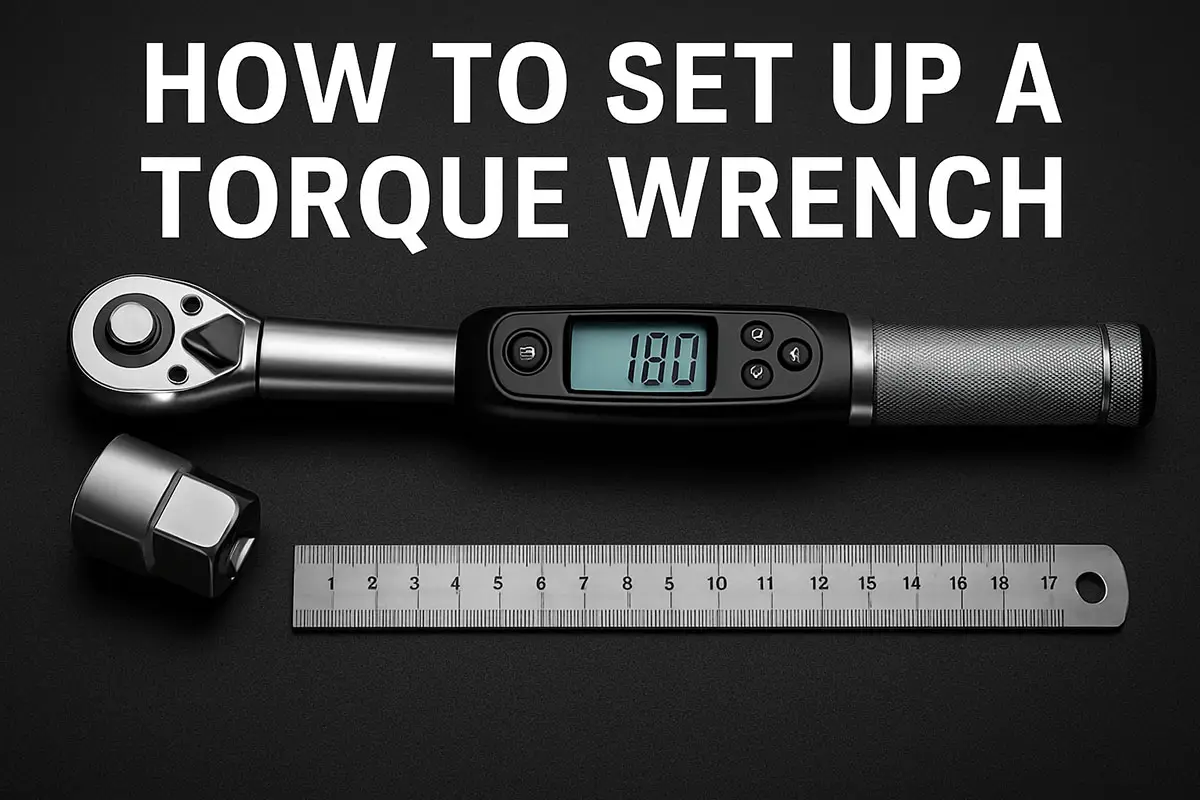
So, you’ve got a torque wrench – great choice! But before you dive into tightening bolts like a pro, you need to know how to set it up correctly. Using a torque wrench isn’t just about turning a handle; it’s about precision, safety, and protecting both your tools and your projects. In this guide, we’ll break down exactly how to set up a torque wrench, step by step.
❓ Why Setting Up a Torque Wrench Matters
A torque wrench is all about accuracy. If it’s not set correctly:
- Too tight → You risk stripping threads or snapping bolts.
- Too loose → Your fasteners can work themselves free.
Getting the setup right ensures your work is safe, professional, and long‑lasting.
📋 Step‑by‑Step: How to Set Up a Torque Wrench
1. Check the Manufacturer’s Specifications
Every job has a recommended torque value. Check the equipment manual, bolt size chart, or manufacturer’s guidelines before you begin.
Tip: Don’t guess. Guessing is for lottery tickets, not torque wrenches.
2. Unlock the Torque Wrench
Most adjustable torque wrenches have a locking mechanism on the handle.
- Twist the lock ring or pull down the collar at the base to unlock.
- This allows the handle to rotate and adjust the torque setting.
3. Set the Desired Torque
- Rotate the handle until the scale matches the required torque value.
- Many wrenches use a main scale (in Nm or ft‑lb) plus a micrometer scale for fine adjustment.
Example: If you need 85 Nm, set the main scale to 80 and then twist the micrometer handle to +5.
4. Lock the Handle in Place
Once the correct value is set, lock the handle again.
👉 This prevents accidental changes while you’re working.
5. Position the Wrench Properly
- Place the socket on the fastener.
- Keep your hand on the handle grip (not the shaft).
- Pull smoothly and steadily.
Important: Do not use extensions like pipes for extra leverage – that’s the fast lane to a broken wrench or over‑torqued bolt.
6. Listen and Feel for the Click (if Click‑Type)
Most torque wrenches make a distinct click when the preset torque is reached.
- Stop pulling immediately at the click.
- Don’t keep cranking “just to be sure.”
For digital torque wrenches, you’ll hear a beep or see a light indicator instead.
7. Reset After Use
When finished, turn the torque setting back to the lowest value (but not zero).
👉 This relieves spring tension and keeps your wrench calibrated longer.
⚙️ Maintenance Tips for Longevity
- Store in a protective case, away from moisture.
- Don’t drop it (torque wrenches dislike skydiving).
- Calibrate it regularly (every 12 months or as recommended).
😂 Funny Fact
The torque wrench was invented in 1918 – over 100 years ago – because an engineer got tired of people overtightening bolts. Proof that even back then, some folks didn’t know when to stop!
🤔 Lesser‑Known Fact
Temperature can affect torque wrench accuracy. A wrench stored in a hot car or freezing garage may deliver slightly off readings until it acclimates to room temperature.
✅ Conclusion
Setting up a torque wrench correctly is simple once you know the steps. It’s about precision, safety, and respecting the tool. Whether you’re working on a car engine, a bike, or heavy machinery, following this guide will ensure you get the job done right – and without broken bolts or costly mistakes.
Want To Learn More About Torque Wrench?
Find out more information on torque wrenches in the following articles:
- The Ultimate Guide to Torque Wrenches
- How to Use a Torque Wrench in the Automotive Industry
- Automotive Torque Wrench Buying Guide 2025
- Digital vs. Mechanical Torque Wrenches: Which Is Better?
- Best Digital Torque Wrench in 2025
- How to Calibrate a Torque Wrench: Step-by-Step Guide
- Top Torque Wrench Manufacturers Reviewed (2025 Edition)
- How to Read a Torque Wrench Correctly?
- Torque Wrench Maintenance: How to Extend Its Life
- 5 Common Mistakes When Using a Torque Wrench
- The Future of Torque Wrenches: Smart Tools & Automation 2025
- Torque Wrenches in Aviation – Case Studies on Safety
- Torque Wrench Safety: Prevent Overtightening & Bolt Failures
- Torque Wrench Accuracy Explained | Understanding Tolerance in Practice
- Digital Torque Wrench Calibration – Step-by-Step Guide 2025
- Snap-On Digital Torque Wrenches (2025) – Premium Review
- Proto Torque Wrenches: Complete Buying Guide & Pro Review (2025 Edition)
- How to Choose the Right Torque Wrench for Your Job
💬 Your Turn
Do you have a favorite trick or story about using a torque wrench?
Drop it in the comments below – we’d love to hear from you!